How to save PDF as JPEG images? What's the difference between JPG and JPEG? Saving PDF as JPEG is the same with saving as JPG? If you also have the same questions, you'll find answers and solutions in this post. We'll offer you five simple methods to save PDF as JPEG with EasePDF Online, Mac Preview, Photoshop, and PDFelement. We'll also show you how to save all PDF pages as a single JPEG picture.
Contents
Part 1. Difference Between JPG and JPEG
Part 2. How to Save PDF as JPEG Images 1. How to Save PDF as JPEG Online 2. Save PDF as JPEG with Mac Preview 3. Save PDF as JPEG with Photoshop 4. Save PDF as JPEG with a Pro Converter
Part 1. Difference Between JPG and JPEG
JPEG is an image file format that stands for Joint Photographic Experts Group. With adjustable compression ratios ranging from 10:1 to 20:1, users can determine their own balance between storage size and quality while saving photographic as JPEG format. Therefore, JPEG became one of the most commonly used image formats on the internet for digital photography storage and sharing for its lossy compression feature.
The original file extension for the JPEG file format was ".jpeg". However, in earlier versions of Windows and DOCS systems, all files required a three-letter extension for the file names. So "jpeg" was shortened to ".jpg" to fulfill the system requirement. UNIX and MAC users could still use the ".jpeg" extension though because the two systems did not have such limitations. As a result of system compatibility, JPG becomes the most common extension for JPEG files, even though the newer versions of Windows and DOCS accept more characters in their file extension now.
In conclusion, ".jpg" is one of the extension names of JPEG files, and they represent the same digital image format essentially. In other words, there's no difference between JPG and JPEG, except for the number of characters used. When you change the extension both ways, the file will continue to work as normal. That also means saving a PDF file as JPEG equals saving it as JPG.
To learn more about JPG and JPEG, please refer to this post on Quora.
Part 2. How to Save PDF as JPEG Images
1. How to Save PDF as JPEG Online
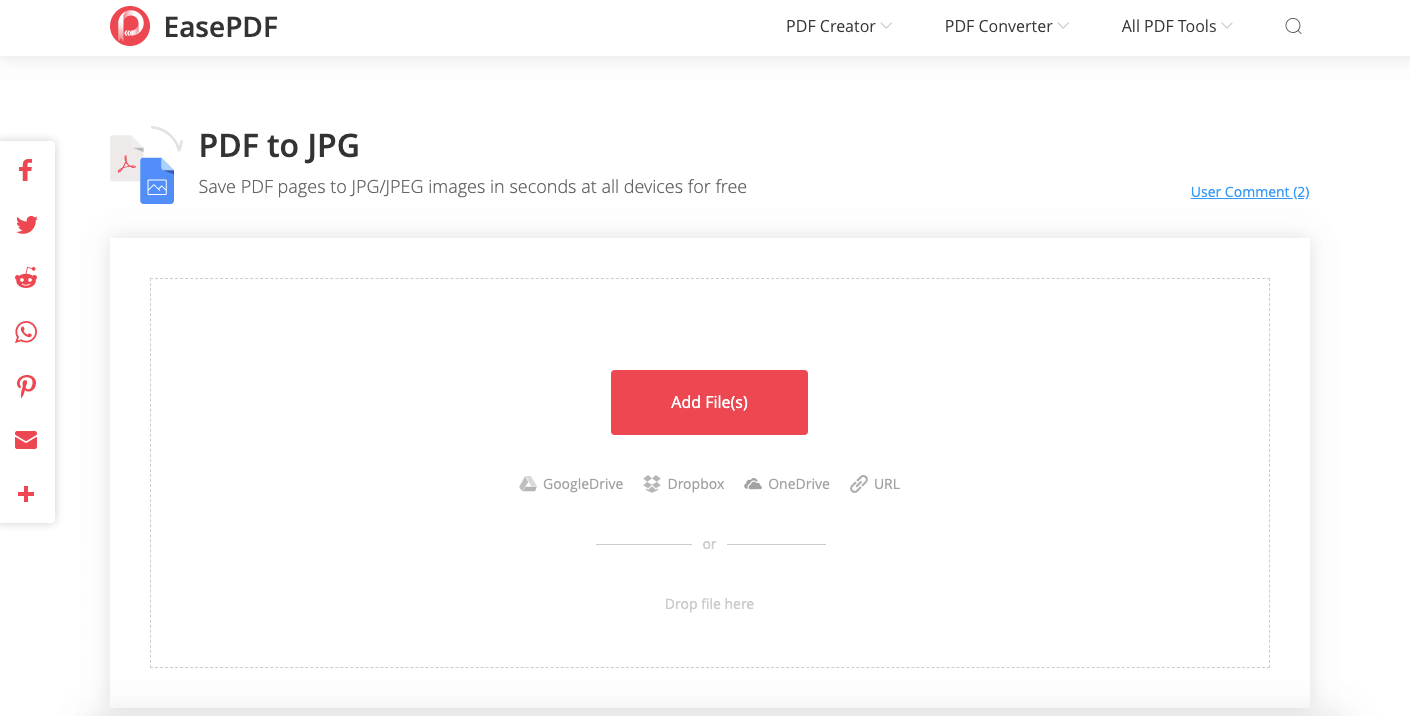
The first method we recommend would be to save PDF as JPEG online for free with EasePDF. This way enables you to operate on any device, including computers, smartphones, tablets, etc without operating system limitations because it won't require you to install any third-party program. Now open the "PDF to JPEG Converter" on EasePDF and let's start the process.
Step 1. Upload PDF. Hit the "Add File(s)" button to access files from your local device, or drag your target PDF and drop it to the interface. EasePDF also supports importing files from your OneDrive, Dropbox, and Google Drive.
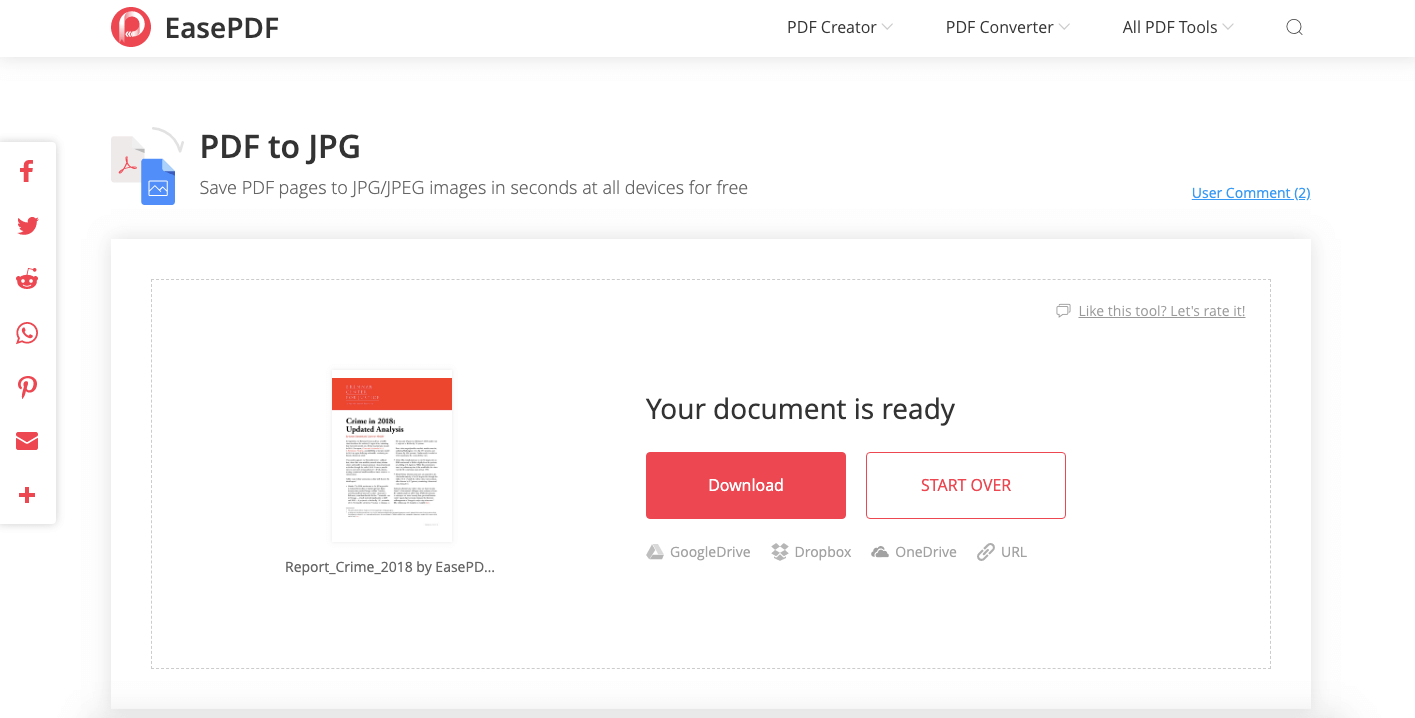
Step 2. Convert PDF to JPEG. EasePDF will automatically start saving your PDF pages as JPEG images when the file is uploaded. Just wait patiently for your surprise.
Step 3. Download the JPEG file. When your PDF is successfully saved as JPEG, EasePDF will offer you a download link. Just click the "Download" button to save it to your device.
How simple is that? The converted JPEG images will be in a".jpg" extension. If you want them to be in ".jpeg", you can simply rename the images to change the extension name. This won't change the image format.
Tips
"Please notice that an encrypted PDF can't be saved as JPEG. You need to unlock PDF. to remove the password before uploading it to EasePDF."
2. Save PDF as JPEG with Mac Preview
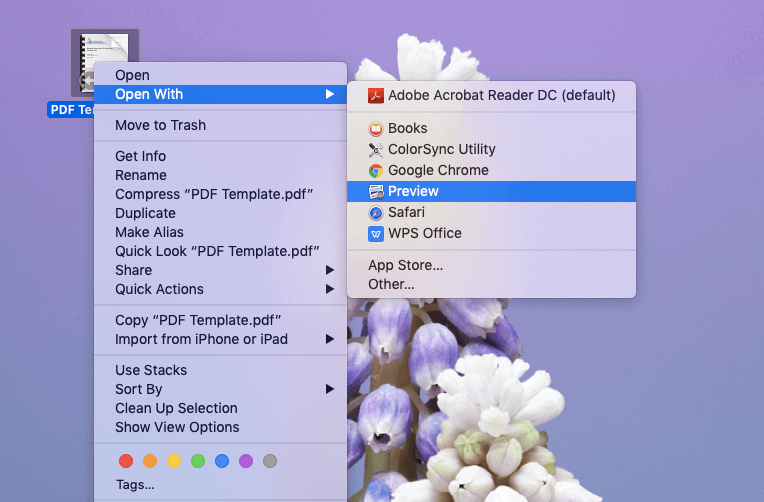
For Mac users, there's a free solution on your computer. You can use the built-in Preview app on Mac to save PDF as JPEG in a few easy steps.
Step 1. Right-click on the PDF file you want to save as JPEG, then choose "Open With" > "Preview".
Step 2. Click the "File" tab on the top menu bar, then choose "Export" on the drop-down secondary menu.
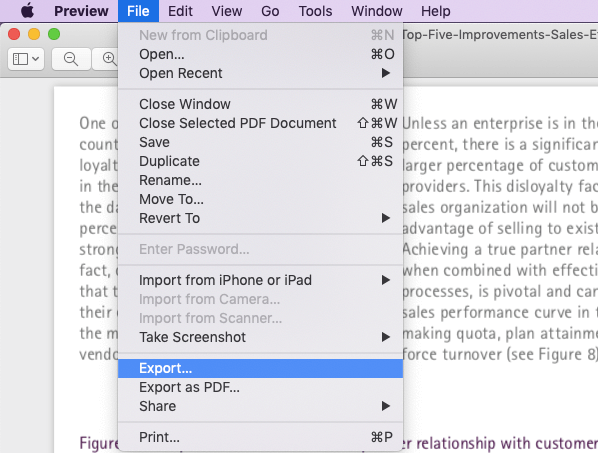
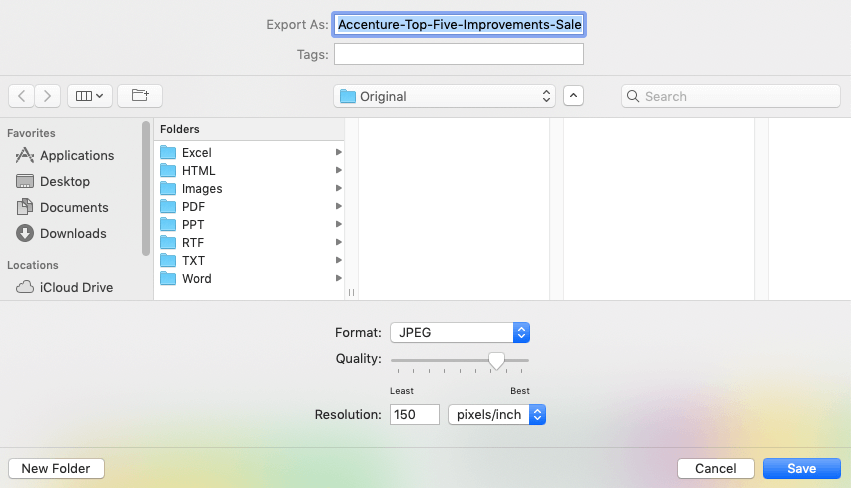
Step 3. A new window will pop up. Click on the "Format" tab to open a drop-down list and select "JPEG" as an output format. You can customize the quality and resolution as you desired, then click the "Save" button.
Tips
"Mac Preview can only save one PDF page as a JPEG image."
3. Save PDF as JPEG with Photoshop
Adobe Photoshop is the most popular photo editing program. But what most people don't know is, it can be used as a PDF to JPEG converter. How? Let's reveal it.
Step 1. Launch Adobe Photoshop on your computer, and go to "File" > "Open" on the top menu bar. Then Photoshop will navigate to the documents on your device, pick your target PDF file and hit the "Open" button.
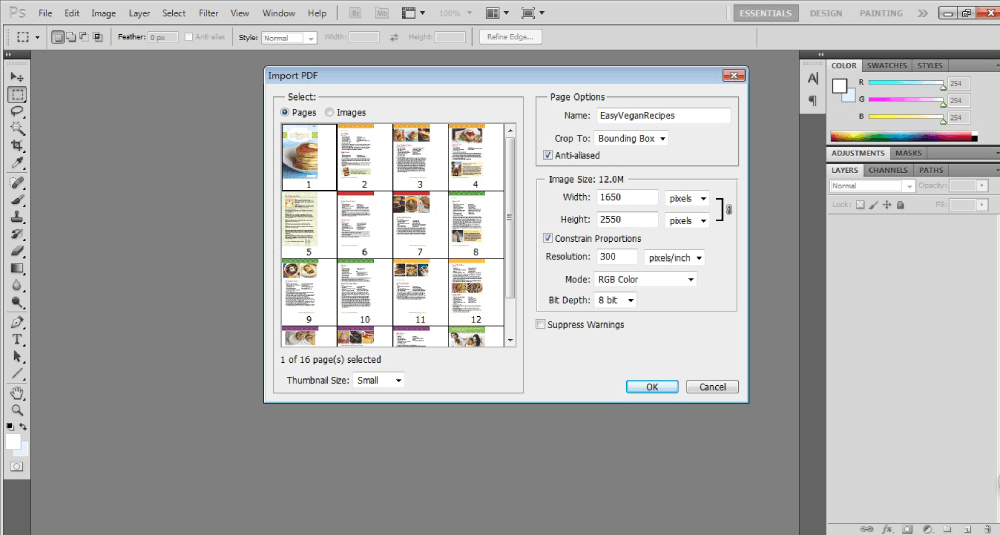
Step 2. Then an "Import PDF" window will pop up. There are two selection options. You can choose the "Pages" option to import and edit PDF pages or choose the "Images" to extract photos from the PDF. In this case, we go to "Pages". Of course, you can import all PDF pages or selective ones, according to how many pages you want to save as JPEG. Click "OK" to start importing.
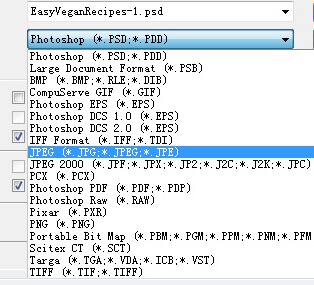
Step 3. Save a PDF page as JPEG. Go to the "File" menu again and choose "Save as" on the drop-down menu. On the "Save As" dialog, set a location for storage and choose "JPEP" on the file type list as the output image format. In this step, you can optimize the image size and quality by setting a resolution.
Now we've successfully saved a PDF page as a JPEG, we can repeat this step for all pages. But in case we're dealing with a PDF file with dozens of or hundreds of pages, we can create a "Save as JPEG" action record to record step 3 and let Photoshop run the repeating saving process for us.
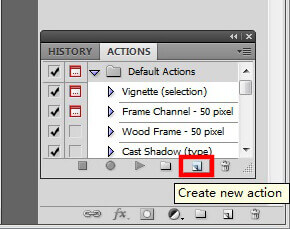
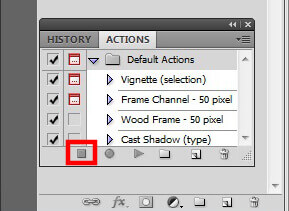
First of all, go to "Window" > "Actions". Then you'll see a small "Actions" window appearing at the right bottom. Click the "Create new action" tab.
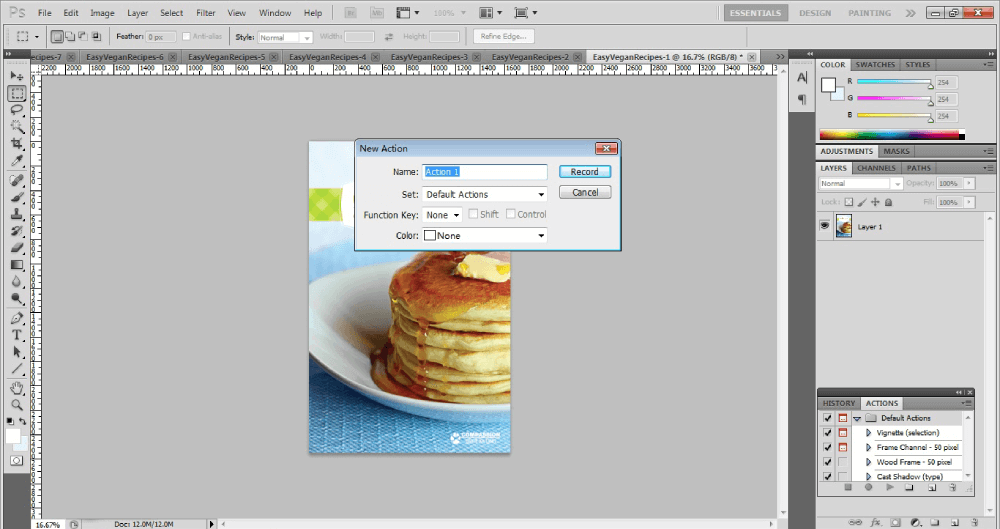
Enter a name for this action record or leave it as default. Then click "Record".
Now operate Step 3 and Photoshop will record the whole process. When you finish saving a PDF page as JPEG, go to the "Actions" window to hit the "Stop" button. And this "Save As JPEG" action has already been recorded.
Next, we need to enable the batch processing function on Photoshop. Go to "File" > "Automate" > "Batch". On the "Batch" window, choose the action you created just now on the "Action" option. Then go to "Source" > "Opened Files" > "OK".
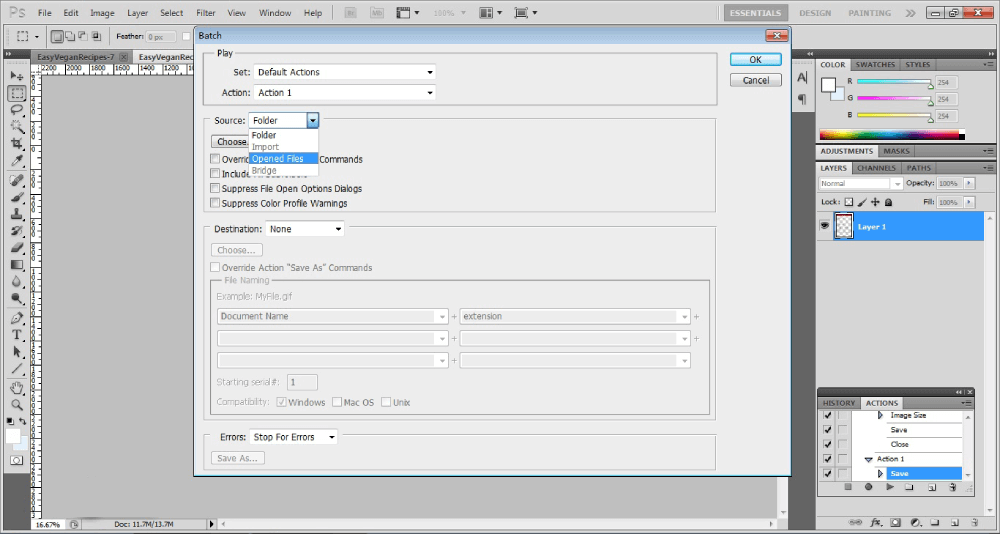
Now you'll see Photoshop running the "save PDF as JPEG" action automatically for every PDF page opened on Photoshop. When this process finishes, go find and open the JPEG versions of your PDF on the destination you choose at step 3.
4. Save PDF as JPEG with a Pro Converter
Another way we recommend is to save PDF as JPEG with a professional converter like PDFelement, which is powerful in PDF converting, editing, creating, compressing, merging, etc. Unlike Mac Preview, PDFelement enables you to save a whole PDF file as JPEG images.
Step 1. Download the free trial version of PDFelement and install it on your computer.
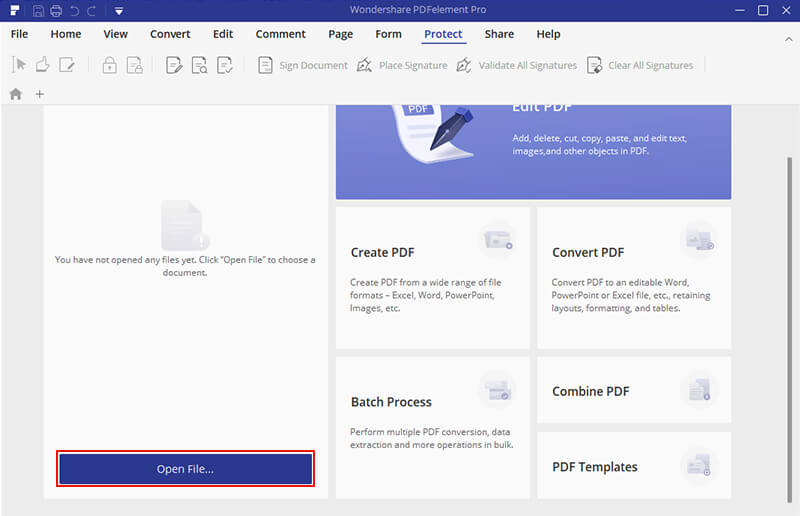
Step 2. Then run the program and choose "Open File" on the main interface to open a PDF file on your device.
Step 3. Click the "Convert" tab on the top menu bar, then choose "To Image" on the secondary menu. Next, select "JPEG/JPG" as the converted format on the "Save As" dialog. Done. Now you've got your PDF converted to JPEG images.

Part 3. How to Save a PDF as a JPEG Picture
Some people might consider it a bit inconvenient to view and organize the converted PDF images. So is there any way to save multiple PDF pages as a single JPEG image? The answer would be yes for Snagit - a comprehensive screenshot tool. Let's see how it works.
Step 1. Open the PDF you want to save to a single JPEG with any PDF processor on your computer.
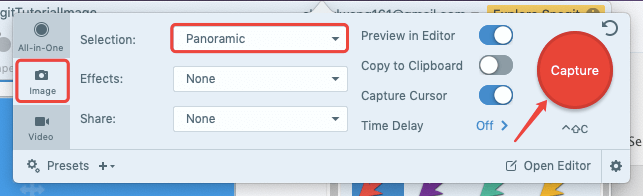
Step 2. Launch Snagit and choose the "Capture" button on top to start a new capture.

Step 3. Select the "Image" mode on newly opened dialog, then choose "Panoramic" from the drop-down list on the "Selection" option.
Step 4. Go to the PDF file you open earlier. Click on the PDF and drag on your mouse to select a region, then click the "Start" button to begin Panoramic capture.

Step 5. Scroll down on your PDF with the mouse slowly to let Snagit capture every page of your PDF. At the point you want the capture ends, hit the "Stop" button.

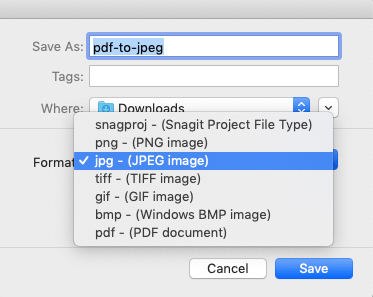
Step 6. Choose "File" > "Save As" or "Export". Then a new prompt will open. On the "Save AS" option, enter a file name for your converted image. Next, choose "jpg - (JPEG image)" on the "Format" option. That's it, all pages of your PDF has now been saved as one JPEG image.
Tips
"If you only want to save certain pages from your PDF as a JPEG, you can delete the pages you don't need using the "Delete PDF" tool."
Was this article helpful? Thank you for your feedback!
YES Or NO